 Save
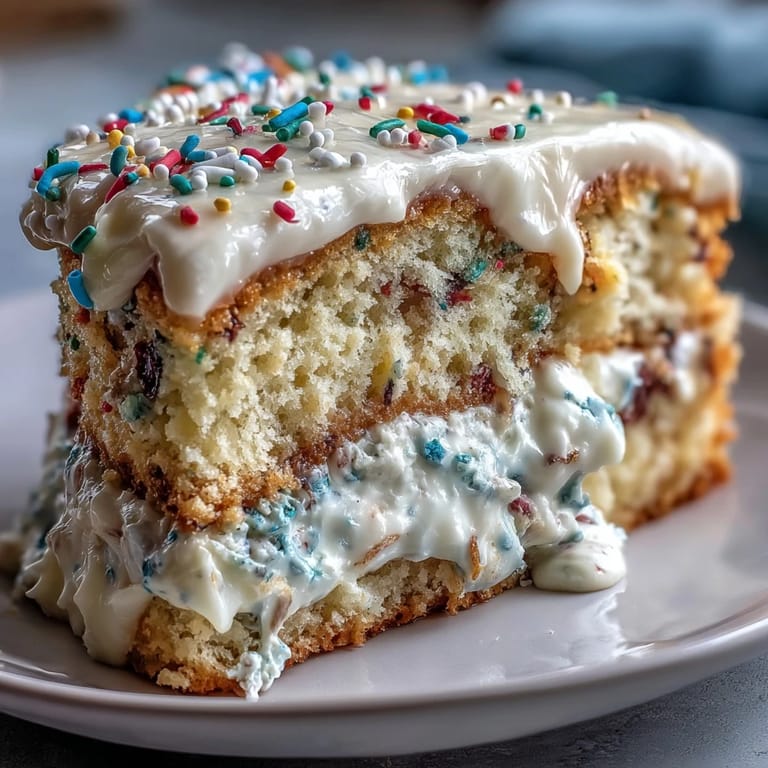
Save Sunlight streamed through my kitchen window the first time I made this Spring Birthday Party Sprinkle Funfetti Dip Cake, and the fleeting scent of vanilla and butter wrapped around me like a bright invitation to mischief. It wasn’t for any special occasion at first—I’d just come home with a fresh set of pastel sprinkles, inspired by a pop of color in the grocery store’s baking aisle. There’s something about swirling jimmies into cake batter that feels as satisfying as popping bubble wrap or doodling on the edges of your notebook. That day, the funfetti dip was an experiment, half snack and half frosting, and when I took that first bite between cake layers, I smiled at how childlike the whole thing felt. Now, this cake comes out every spring when our kitchen table fills with laughter and people eager for a piece.
Last April, I nearly dropped the frosted masterpiece as my niece shouted about chasing butterflies outside: frosting finger marks are still immortalized on my countertop. Watching everyone cluster around the cake, eager for extra candy decorations, I realized this dessert was more about the silly, sticky moments than picture-perfect layers. Since then, making this for birthdays or garden parties feels less like baking and more like inviting everyone in for a shared spring day. Each time I assemble it, I try to remember how quickly it disappears—especially if my family’s involved.
Ingredients
- All-purpose flour: Sifted for fluffiness, I learned to gently spoon it in for the softest crumbed cake layers.
- Baking powder: Ensures a lofty rise, and double-checking its freshness saved me from a dense cake disaster once.
- Salt: A tiny amount makes the cake taste like more than just sugar and sprinkles.
- Unsalted butter: Let it soften on the counter—cold butter will clump and make mixing uneven.
- Granulated sugar: Creamed with butter, it’s the base for those tender, sweet crumbed slices.
- Eggs: Bring to room temperature so they blend seamlessly; cold eggs once gave me weirdly dense layers.
- Vanilla extract: The aromatic backbone of classic funfetti flavor—don’t swap for imitation if you can help it.
- Whole milk: Adds moisture and richness; I once used skim and learned my lesson.
- Rainbow sprinkles (jimmies style): Always fold them in gently; mixing too much will streak your cake gray!
- Cream cheese: The base for the dip, softening makes it easy to whip silky-smooth.
- Powdered sugar: Sweetens the dip and melts instantly; sifting prevents any stubborn lumps.
- Extra rainbow sprinkles: I never measure, I just let the inner five-year-old decide when it’s enough.
- Edible spring candies (optional): Adds extra sparkle if you’re feeling fancy or if kids are around.
Tired of Takeout? 🥡
Get 10 meals you can make faster than delivery arrives. Seriously.
One email. No spam. Unsubscribe anytime.
Instructions
- Set the Stage:
- Preheat your oven and line two pans with parchment; this is when the kitchen starts buzzing with the best kind of anticipation.
- Mix Dry Ingredients:
- Whisk together flour, baking powder, and salt, watching dust flit up with each stir. It’s oddly calming to get this part right.
- Cream the Butter and Sugar:
- Beat until pale and fluffy—the mixer should sound like a gentle purr as the grains dissolve.
- Add Eggs and Vanilla:
- Crack the eggs in one at a time, each blending until glossy, then stir in the vanilla so everything smells like cookies.
- Combine Wet and Dry:
- Alternate additions of the flour mixture and milk, starting and ending with flour; go slow so the batter stays tender. Fold in sprinkles right at the end, being careful not to overmix.
- Bake the Cakes:
- Spoon the batter evenly between pans and slide into the oven; the top should spring back when pressed. Cool in pans, then flip onto wire racks so the air works its magic.
- Make the Funfetti Dip:
- Whip soft cream cheese and butter till smooth, adding powdered sugar gradually. Swirl in extra sprinkles and a splash of milk until it’s creamy and dip-able—chilling firms it up just right.
- Assemble:
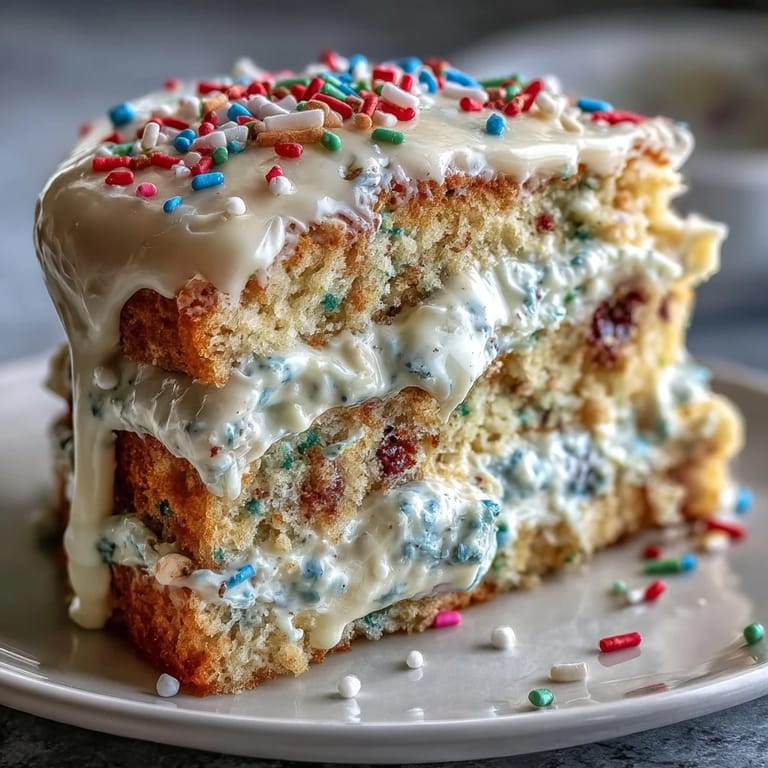
- Lay one cake layer down, spread with a thick swoosh of dip, then sandwich with the second layer. Slather the rest around the top and sides, aiming for clouds of creamy joy.
- Decorate:
- Scatter sprinkles like confetti and press on spring candies if you like. Chill so the whole thing sets into colorful layers ready for slicing.
 Save
Save  Save
Save There’s one photo where all of us—frosting smudges and all—are mid-laugh around this cake, and I’ve kept it taped inside my recipe journal. That’s when I realized how much these sweet projects make ordinary days memorable, especially in good company and a mess of colored sprinkles.
How To Keep Your Cake Layered and Light
Letting the cake layers cool completely before assembling prevents the dip from melting out—patience is key, even if everyone is circling the kitchen hoping for an early slice. If a layer cracks, don’t stress: just patch with extra dip, and decorate boldly to give your masterpiece character.
Choosing and Mixing Sprinkles
Stick to classic jimmies for the batter because nonpareils bleed and create streaky, gray patches. It took a kitchen fail to realize gentle folding is all you need to keep the colors distinct—too much mixing and you’ll lose the whole rainbow.
Serving and Storage Tricks
Chill any leftovers quickly to keep the dip from turning runny, and slice with a hot knife for the cleanest edges. If you’re feeling extra playful, serve with cookies or fruit for dunking—the dip layer is meant for fun.
- Toss spring candies on right before serving so the colors stay bright.
- Store covered in the fridge for up to three days—if it lasts that long.
- Always check your sprinkles for hidden allergens before mixing in.
 Save
Save 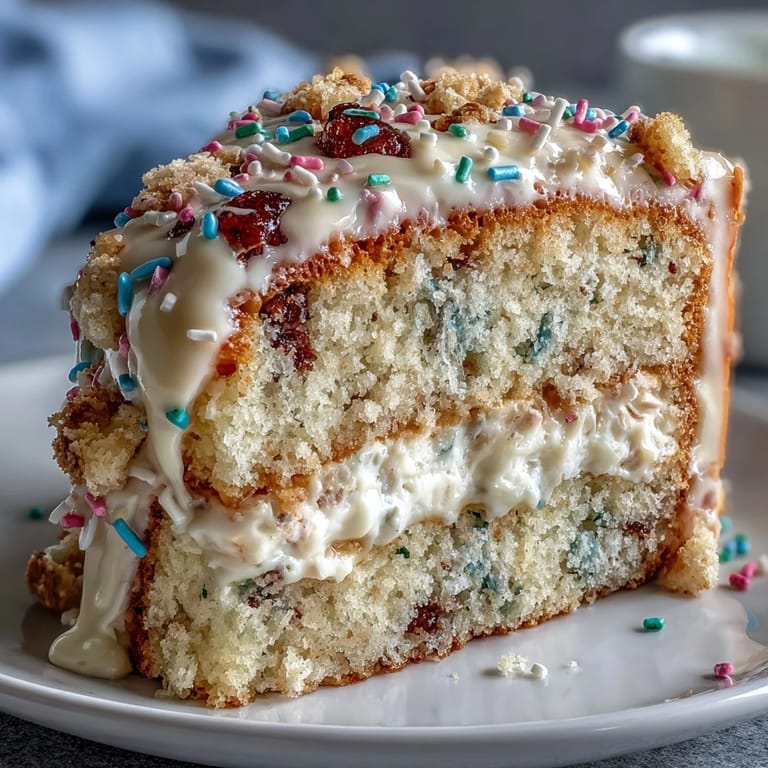 Save
Save If this cake leaves behind a trail of sprinkles and grins, it’s done exactly what it was meant to do. Wishing you happy baking and even happier slices shared with friends.
Recipe FAQs
- → How do I keep sprinkles from bleeding into the batter?
Toss the sprinkles in a tablespoon of flour before folding them into the batter and fold very gently at the end to minimize color bleed and sinking.
- → What indicates the cake layers are fully baked?
Insert a toothpick into the center; it should come out clean or with a few dry crumbs. The tops should spring back lightly when touched.
- → Can I make the funfetti dip ahead of time?
Yes. Chill the dip in an airtight container for up to 48 hours; bring it to spreadable texture by resting at room temperature and rewhipping briefly before assembling.
- → How should I store the finished cake?
Keep the decorated cake covered in the refrigerator for up to 3 days. If serving cold is undesired, let slices sit at room temperature 20–30 minutes before serving.
- → Are there good substitutions for dairy or gluten?
Use a plant-based butter and cream cheese alternative for dairy-free, and swap a gluten-free flour blend for the all-purpose flour. Check sprinkles for gluten-free labeling.
- → Any tips for smooth frosting and neat edges?
Chill the crumb-coated cake 15–30 minutes before final frosting, use an offset spatula for even coverage, and dip the spatula in hot water and dry between strokes for a smoother finish.