 Save
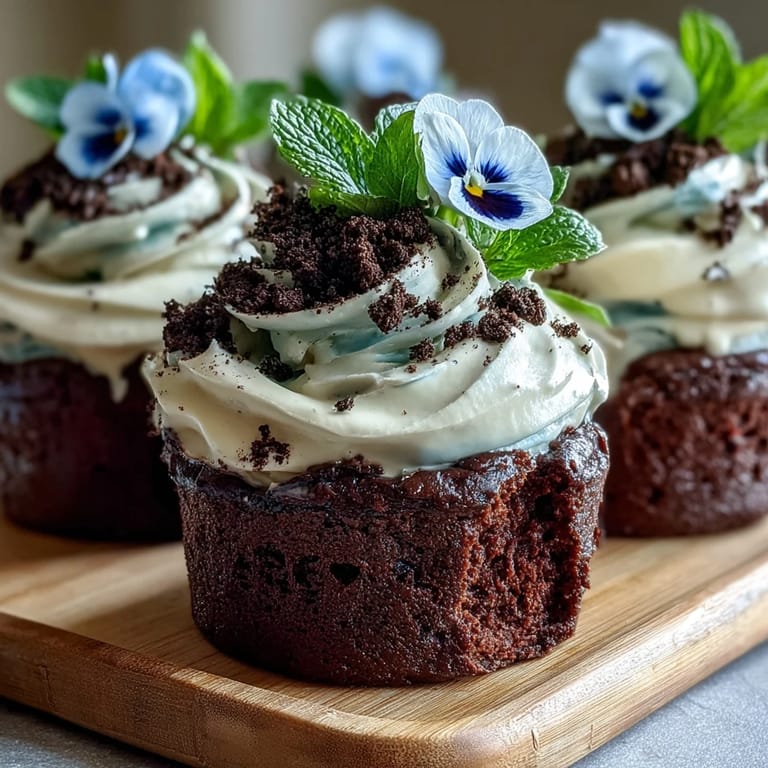
Save There’s something disarmingly playful about making dessert that looks like a garden in full bloom. The first time I tried these flower pot brownies, my kitchen was sprinkled with cocoa, cookie crumbs, and laughter from a spontaneous baking afternoon with my little cousin. We giggled every time an Oreo crunched—it sounded like stepping on hard soil—and pretended we were planting real flowers. Sometimes I find myself reaching for these whimsical desserts not just for the flavor, but for the delight in turning a countertop into a patch of edible earth. It’s the kind of treat that feels as creative as it tastes indulgent.
One spring afternoon, I brought a basket of these brownie pots to my friend’s garden brunch, slyly hiding them among the real flowerpots on the table. The moment someone tried to water one with a little pitcher, we couldn’t stop laughing—no one suspected dessert could be so convincingly disguised. Watching everyone discover the surprise inside was nearly as sweet as the treat itself.
Ingredients
- Unsalted butter: Using real butter gives the brownies their velvety depth, and I always melt it gently to avoid any bitterness.
- Granulated sugar: I’ve found whisking sugar with warm melted butter leads to the glossiest batter.
- Eggs: Always best at room temperature, eggs help the brownies bake up moist and rich.
- All-purpose flour: Sifted in gently, flour keeps the texture tender—don’t overmix or you’ll lose that fudgy bite.
- Unsweetened cocoa powder: I stick to a good dark cocoa for a more intense chocolate note.
- Baking powder: Just enough for a lift, but not so much the brownies lose their dense, classic feel.
- Salt: Just a pinch makes everything, especially chocolate, taste more alive.
- Vanilla extract: One teaspoon is all it takes to round out the flavor—homemade if you have it.
- Oreo cookies: Leave the filling in; it adds the perfect stickiness to the “dirt.”
- Heavy cream: Cold cream whips up fluffiest—almost cloudlike—for that garden “frosting.”
- Powdered sugar: Adds just enough sweetness to the cream and blends easily, no lumps.
- Edible flowers or colorful gummies: I choose violets or pansies for the real thing, or candy for whimsy if kids are helping.
- Mint leaves (optional): The extra pop of green makes the whole dish look freshly picked.
Tired of Takeout? 🥡
Get 10 meals you can make faster than delivery arrives. Seriously.
One email. No spam. Unsubscribe anytime.
Instructions
- Get the pots ready:
- Preheat your oven to 175°C (350°F). Line your mini flower pots with a little parchment so nothing sticks, and give them a quick rinse if they’ve been gathering dust.
- Start the brownie base:
- In a saucepan, gently melt butter over low heat until just liquid—it should smell toasty but not browned. Remove from heat and whisk in the sugar and vanilla until glossy.
- Add the eggs:
- Crack in eggs one at a time, whisking well after each—watch how the mixture thickens and turns satiny.
- Dry ingredient magic:
- In a bowl, sift together flour, cocoa powder, baking powder, and salt. Fold dry ingredients into the batter just until you see no more streaks, for the fudgiest result.
- Fill the pots:
- Divide the silky batter among your prepared flower pots, or pour into a lined baking pan if you prefer. The batter should come about halfway up each pot.
- Bake to perfection:
- Bake for 20–25 minutes, until a toothpick poked in comes out with a few sticky crumbs clinging to it. Let the pots cool completely on a rack so they set up firm enough to decorate.
- Make the Oreo dirt:
- Crush whole Oreos—filing and all—in a food processor, or shove them in a zip bag and let out your stress with a rolling pin. You want crumbs as fine as soil in a spring garden.
- Whip the clouds:
- Beat cold heavy cream with powdered sugar to stiff peaks; keep the bowl and beaters cold for fluffiest results. It should hold soft, swoopy peaks when you lift the whisk.
- Assemble the pots:
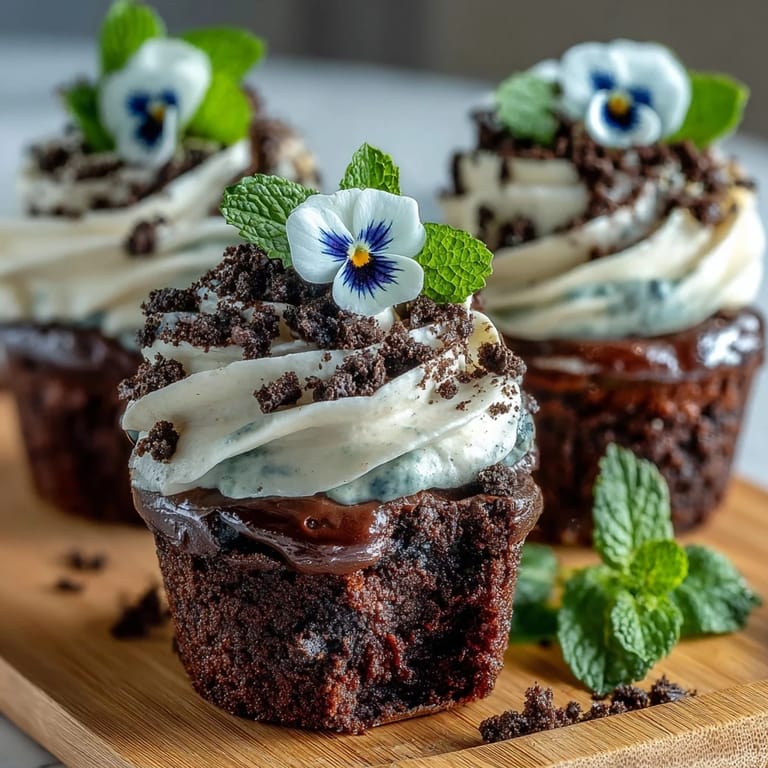
- If you baked one slab, cut rounds to fit the pots snugly. Spoon a generous layer of whipped cream over the brownies, and scatter Oreo crumbs thickly on top for that muddy garden look.
- Decorate:
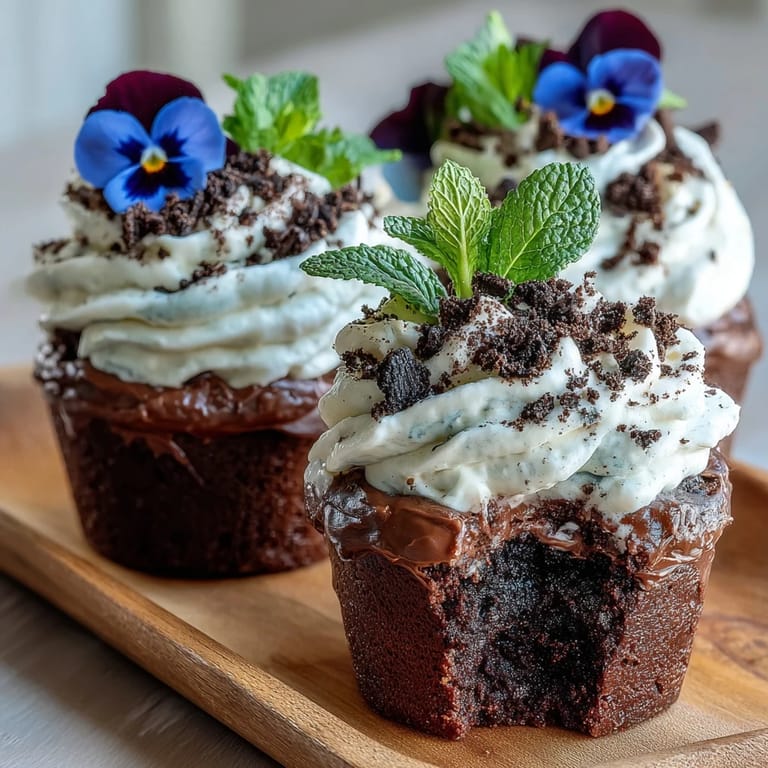
- Nestle in edible flowers, gummies, or mint leaves—arrange them however you’d plant a happy window box. Each pot is a canvas, so have fun with color and heights.
- Chill and serve:
- Pop the finished pots in the fridge for at least 30 minutes, so everything stays put until showtime. Serve with little spoons and watch the delight as everyone “digs in.”
 Save
Save When my niece grinned with Oreo crumbs stuck to her nose, I realized these silly little desserts had made her feel truly celebrated. Sometimes it’s a simple act of turning dessert into a game that quietly brings people together.
Choosing and Preparing Edible Flowers
The first time I tracked down edible flowers, I felt like a kid on a treasure hunt poking around farmers markets and gardens. Always double-check which blooms are food-safe—if in doubt, opt for pansies or violets from a reputable grocer. Gently rinse flowers before decorating, and pat dry so they don’t wilt. I found using tweezers made arranging petals downright meditative. Each edible bloom gives your dessert a pop of color and a gentle floral aroma.
Creative Kid-Friendly Decorating
If you’re baking with kids, let them handle the dirt and the “planting.” Give everyone a bowl of Oreo crumbs and a plate of gummies, and encourage freeform gardens—no design is ever the same twice. Even the mess becomes part of the memory. I still smile remembering the pot covered in nothing but gummy worms, declared “the yummiest flower bed.” It’s dessert as a playground, no rules needed.
Troubleshooting Your Brownie Pots
Brownie bases sinking or pots cracking can sneak up if you rush things or overmix the batter. In my kitchen, I learned to bake a test pot before committing the whole batch to the oven—small tweaks make a huge difference. If your brownies dome too much, just gently press them flatter while still warm with the back of a spoon.
- Chill the flower pots before adding cream for sharper layers.
- Scrape the extra Oreo “dirt” around the rim for a real garden look.
- Don’t overcrowd the decorations—let each flower or gummy shine.
 Save
Save Whimsical desserts like these flower pot brownies have a way of shrinking the world to a sprinkle-scattered kitchen and a round of shared smiles. However you plant them, these “gardens” will bloom with joy every time.
Recipe FAQs
- → Can I use a store‑bought mix for the brownie base?
Yes. A boxed mix streamlines preparation—just follow package instructions, bake in mini pots or a tray, and cool before cutting and assembling with whipped cream and Oreo crumbs.
- → How do I make Oreo 'dirt' without a food processor?
Place cookies in a heavy resealable bag and crush with a rolling pin until finely crumbed. For extra crunch, pulse briefly in a blender or use a mortar and pestle.
- → Are edible flowers safe to use and how should I prepare them?
Use only flowers labeled food‑safe from reputable vendors. Gently rinse and pat dry before arranging. If unsure, substitute colorful gummies or fresh mint leaves for decoration.
- → How do I keep the whipped cream stable for serving?
Chill the mixing bowl and beaters, use powdered sugar for structure, and whip to stiff peaks. For longer stability, fold in a small amount of stabilized cream or mascarpone.
- → Can I bake the brownies in a tray instead of mini pots?
Absolutely. Bake in a lined tray, cool fully, then cut rounds or squares to fit inside mini pots or ramekins before topping with cream and Oreo crumbs.
- → How should leftovers be stored and how long will they keep?
Cover and refrigerate assembled pots for 2–3 days. For best texture, store brownie bases and whipped cream separately and assemble within 24 hours.