 Save
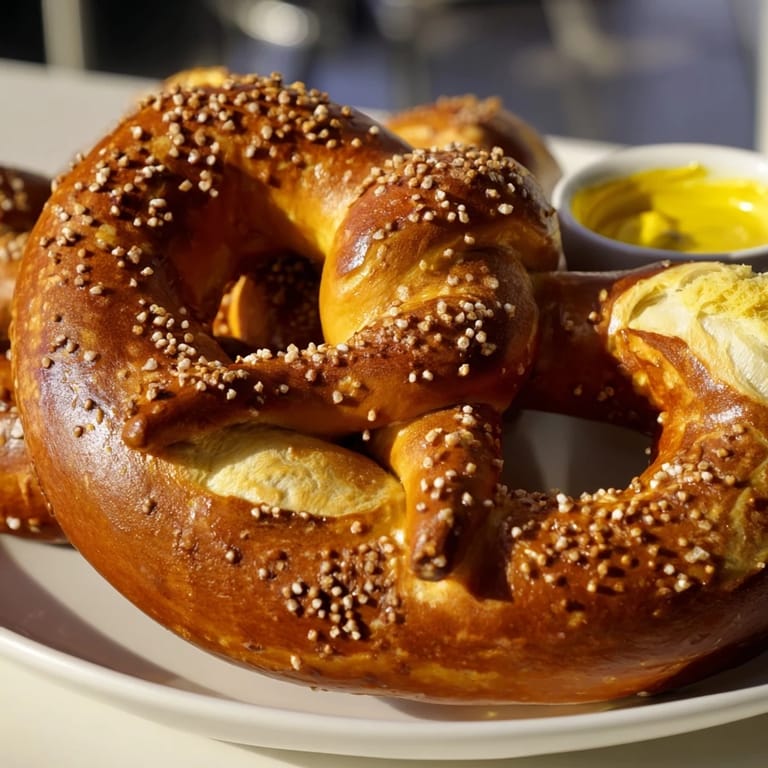
Save The smell of baking pretzels hits you before you even see them—that unmistakable aroma that makes mall walkers stop dead in their tracks. I learned this recipe during a particularly snowy winter when my sister and I decided we were going to replicate our favorite mall pretzel stand at home. The kitchen was freezing, but the oven kept the whole house warm while we twisted dough into increasingly elaborate shapes, some pretzels, some knots, some things we still cannot name.
My friend Brian came over during our second batch of pretzel experiments. He was skeptical about the whole boiling dough step until that first bite when he quietly reached for a third one. Now he texts me every few weeks asking if the pretzel station is open.
Ingredients
- Bread flour: Higher protein content gives these their signature chewy texture and helps them hold their shape during the dip
- Warm water at 110°F: Temperature matters—too hot kills the yeast, too cold makes for sluggish rising
- Active dry yeast: One packet is perfect for this amount of flour, but check the expiration date because old yeast means flat pretzels
- Granulated sugar: Feeds the yeast and helps with that golden browning in the oven
- Kosher salt: Use this in the dough itself, not just on top, for proper seasoning throughout
- Unsalted butter melted: Adds richness and keeps the crumb tender while still maintaining structure
- Baking soda for the bath: This non-negotiable step is what creates the alkaline environment that gives pretzels their characteristic flavor and color
- Egg yolk wash: Makes the salt stick and gives them that glossy professional finish
- Coarse pretzel salt: Do not use table salt—it dissolves too quickly and will not give you those satisfying salt crystals
Tired of Takeout? 🥡
Get 10 meals you can make faster than delivery arrives. Seriously.
One email. No spam. Unsubscribe anytime.
Instructions
- Wake up the yeast:
- Stir together the warm water, sugar, and yeast in a large bowl and walk away for exactly five minutes. You should come back to a foamy layer on top—if it looks flat and sad, your yeast might be dead and you will need to start over.
- Build the dough:
- Add the melted butter and salt to the yeast mixture, then gradually stir in the flour one cup at a time. The dough will look shaggy and messy at first, but keep mixing until it starts to come together.
- Knead until smooth:
- Turn the dough onto a floured surface and knead for five to seven minutes, pushing the dough away from you with the heel of your hand, folding it back over, and giving it a quarter turn. You will feel it transform from sticky and rough to smooth and elastic underneath your palms.
- Let it rise:
- Place the dough in a lightly oiled bowl, turning it once to coat all sides, then cover and let it hang out in a warm spot for an hour. Dough is ready when you press two fingers into it and the indentation stays.
- Heat things up:
- Preheat your oven to 450°F and line two baking sheets with parchment paper while you bring a large pot of water and baking soda to a boil. The baking soda bath will bubble up aggressively, so use a bigger pot than you think you need.
- Shape the pretzels:
- Punch down the risen dough and divide it into eight equal pieces. Roll each piece into a 20 to 22 inch rope, keeping the middle slightly thicker than the ends, then form into that classic pretzel shape by making a U, crossing the ends twice, and folding them down to attach.
- The dip:
- Carefully lower each pretzel into the boiling baking soda bath for exactly 30 seconds, flipping once halfway through. This is the magic moment that transforms them from bread rolls into actual pretzels.
- Finish and bake:
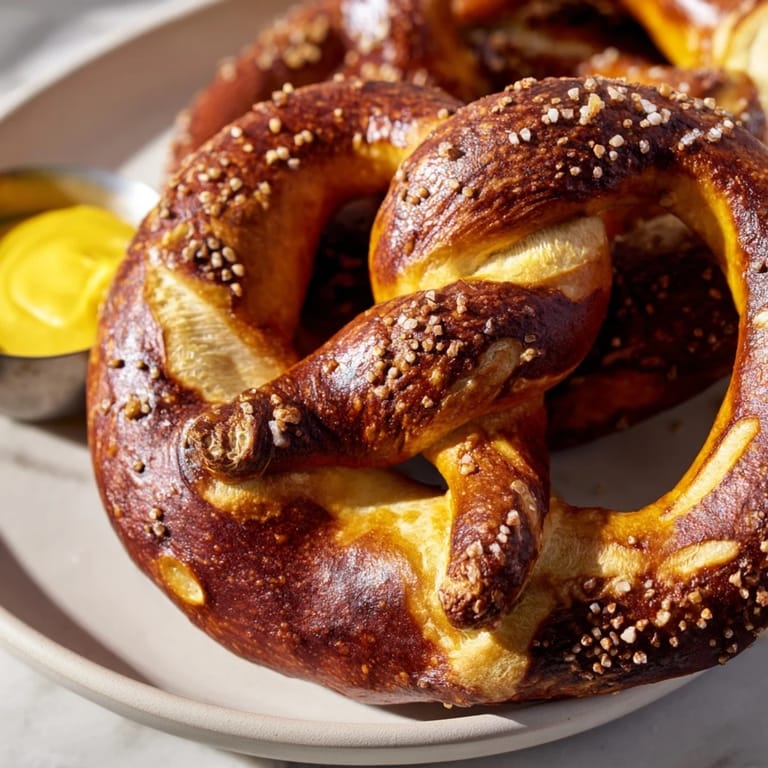
- Transfer the boiled pretzels to your prepared baking sheets, brush each one with the egg yolk wash, and sprinkle generously with coarse salt. Bake for 12 to 15 minutes until they are a deep golden brown that borders on mahogany.
 Save
Save These pretzels have become my go-to for movie nights and gatherings. There is something about pulling apart a warm, salty pretzel that makes people instantly relax, even when the conversation starts awkward.
Shaping Like a Pro
The trick to classic pretzel shape is keeping your rope thicker in the middle and tapering the ends. This gives you enough dough to work with when twisting and crossing, and prevents those sad thin spots that burn in the oven. If your twisted ends keep popping loose, dab a little water on them before pressing them onto the pretzel body.
Make Ahead Strategy
You can freeze these beautiful pretzels after baking—let them cool completely, wrap individually in plastic, then freeze in a bag. Reheat at 350°F for about 10 minutes and they will taste fresh baked. For the absolute best experience, brush the frozen pretzels with a little melted butter before reheating.
Flavor Variations
Skip the salt and brush these warm pretzels with melted butter then coat them in cinnamon sugar for a sweet treat that will disappear faster than you can believe. Sometimes I press sesame seeds or everything bagel seasoning into the tops before baking for a savory twist.
- Garlic butter instead of egg wash makes these irresistible
- Try shredded cheese on top in the last two minutes of baking
- A sprinkle of rosemary and sea salt elevates them to dinner party status
 Save
Save Nothing beats pulling a tray of these from the oven, that hit of salt and yeast filling the kitchen, knowing exactly how good that first warm bite is going to be.
Recipe FAQs
- → What makes pretzels chewy instead of bread-like?
The baking soda bath creates that signature chewy texture and deep brown color. Boiling each pretzel for 30 seconds gelatinizes the exterior, resulting in that distinctive glossy, chewy crust pretzels are known for.
- → Can I make these pretzels ahead of time?
Yes! Shape the pretzels and freeze them unbaked on a baking sheet. When ready to enjoy, thaw briefly, dip in the baking soda bath, then bake fresh. They taste like they were just made.
- → Why do I need to dip the dough in baking soda water?
The alkaline baking soda bath mimics traditional lye dipping used in German bakeries. This chemical reaction produces the characteristic pretzel flavor, deep browning, and chewy exterior texture during baking.
- → What's the best way to shape classic pretzel twists?
Roll dough into an even rope, form a U-shape, cross the ends twice near the base, then fold ends down and press them onto the curved bottom. Don't worry about perfection—rustic shapes taste delicious.
- → Can I skip the egg wash?
The egg wash helps salt adhere and creates attractive sheen. For vegan options, brush with plant milk or melted butter instead. Salt may not stick quite as well, so apply immediately after brushing.
- → How do I store leftover pretzels?
Store cooled pretzels in an airtight container at room temperature for up to 2 days. Reheat in a 350°F oven for 5 minutes to restore crispness. Freezing works well for longer storage—refresh in the oven before serving.